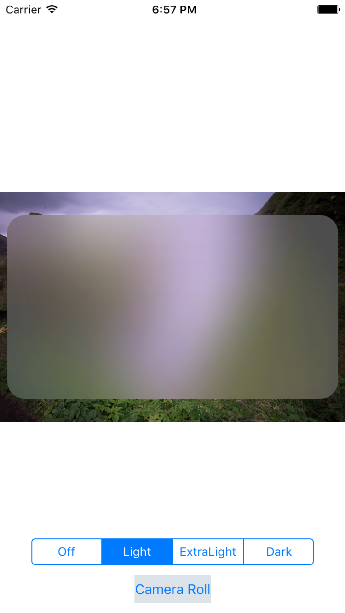
iOS8で追加されたUIVisualEffectViewを使ってBlur効果を作成する [UIVisualEffectView] [UIBlurEffect]
こんにちは。つくりたいものがもくもくもくもく出てきて困ります。
磨りガラスを通したような視覚効果が入ったアプリってありますよね。
iOS7以降、非常に多く見るエフェクトです。
これBlur効果って言います。(Girls and Boysが頭で流れた私はおっさんですね。。。)
これ、iOS7時代は皆さん試行錯誤して実装されていたようなのですが、iOS8になってAppleがBlur効果を実現できるAPIを公開してくれました。
それがUIVisualEffectView。
今回はUIVisualEffectViewのUIBlurEffectを使用して、blur効果を適用できる画像アプリを作成してみました。
こんな感じになります↓

Githubは以下です。前回の記事で作成したアプリをfolkして作成しました。
https://github.com/anthrgrnwrld/blurEffect/tree/da8f81c21a7d5bc65336acaf0fb89f9326379d2drEffectgithub.com
そして参考にしたページは以下です。
▶︎035 UIViewにBlurエフェクトを適用させる - Swift Docs
▶︎鯱ログ: iOS8で追加されるUIVisualEffectViewの使い方
▶︎[iOS8][Swift]UIVisualEffect (blur effect) - Qiita
▶︎[iOS 8] UIVisualEffectViewを使ってすりガラス効果を実現する | Developers.IO
では行きましょう。
自分ポイント1
先ほども書きましたが、今回のアプリは前回の記事で作成したアプリをfolkして作成しました。
そこからの続きとしてみて頂くと幸いです。
で、今回のアプリはEffectの切り替えに UISegmentedControl を使用します。
このブログでは初めて使用するパーツです。
使用するのは暫くぶりで色々忘れてました...。
以下のページで復習しました。
▶︎切り替えをする「Segmented Control」の使い方をマスター | iPhoneアプリ開発大百科
class ViewController: UIViewController, UIImagePickerControllerDelegate, UINavigationControllerDelegate {

    ...

    @IBOutlet weak var effectSegControl: UISegmentedControl!    //Effect選択用SegControl

    ...

    /*
    blur Seg ControlによってEffectを変更するメソッド

    :param: effectIndex:effect用Index
    */
    func onClickMySegmentedControl(effectIndex: Int){

        var effect : UIBlurEffect!

        switch effectIndex {

        case 0:
            print("No effect")

        case 1:
            // LightなBlurエフェクトを作る.
            //今から作るよ

        case 2:
            // ExtraLightなBlurエフェクトを作る.
            //今から作るよ

        case 3:
            // DarkなBlurエフェクトを作る.
            //今から作るよ

        default:
            print("Error")
        }

        //今から作るよ
    }

    /*
    EffectSegControlを押したら呼ばれるメソッド
    */
    @IBAction func pressEffectSegControl(sender: AnyObject) {

        onClickMySegmentedControl(effectSegControl.selectedSegmentIndex)    //blurEffect実行

    }

}
自分ポイント2
Effect適応を実行するメソッドを作成します(addVirtualEffectView)。
以下のソースでそこまで悩むようなことはないかなと思います。
このメソッド呼び出し時にUIBlurEffect型のeffectを引数として指定してあげる必要があります。
class ViewController: UIViewController, UIImagePickerControllerDelegate, UINavigationControllerDelegate {

    @IBOutlet weak var imageFromCameraRoll: UIImageView!        //写真表示用のUIImageView

    private var effectView : UIVisualEffectView!                //Effect用View

    ...

    /*
    エフェクトを適用する.
    */
    internal func addVirtualEffectView(effect : UIBlurEffect!){

        if effectView != nil {
            effectView.removeFromSuperview()
        }

        // Blurエフェクトを適用するEffectViewを作成.
        effectView = UIVisualEffectView(effect: effect)
        effectView.frame = CGRectMake(0, 0, 360, 200)
        effectView.center = imageFromCameraRoll.center
        effectView.layer.masksToBounds = true
        effectView.layer.cornerRadius = 20.0
        imageFromCameraRoll.addSubview(effectView)
    }

    ...

}
自分ポイント3
自分ポイント1の未実装部分が残っています。
Segmented Controlで選ばれた値によって、適応させるエフェクトを変更する部分です。
以下のソースのように実装しました。
class ViewController: UIViewController, UIImagePickerControllerDelegate, UINavigationControllerDelegate {

    ...


    /*
    blur Seg ControlによってEffectを変更するメソッド

    :param: effectIndex:effect用Index
    */
    func onClickMySegmentedControl(effectIndex: Int){

        var effect : UIBlurEffect!

        switch effectIndex {

        case 0:
            print("No effect")

        case 1:
            // LightなBlurエフェクトを作る.
            effect = UIBlurEffect(style: UIBlurEffectStyle.Light)    //追加

        case 2:
            // ExtraLightなBlurエフェクトを作る.
            effect = UIBlurEffect(style: UIBlurEffectStyle.ExtraLight)    //追加


        case 3:
            // DarkなBlurエフェクトを作る.
            effect = UIBlurEffect(style: UIBlurEffectStyle.Dark)    //追加

        default:
            print("Error")
        }

        self.addVirtualEffectView(effect)    //追加
    }

    /*
    EffectSegControlを押したら呼ばれるメソッド
    */
    @IBAction func pressEffectSegControl(sender: AnyObject) {

        onClickMySegmentedControl(effectSegControl.selectedSegmentIndex)    //blurEffect実行

    }

}
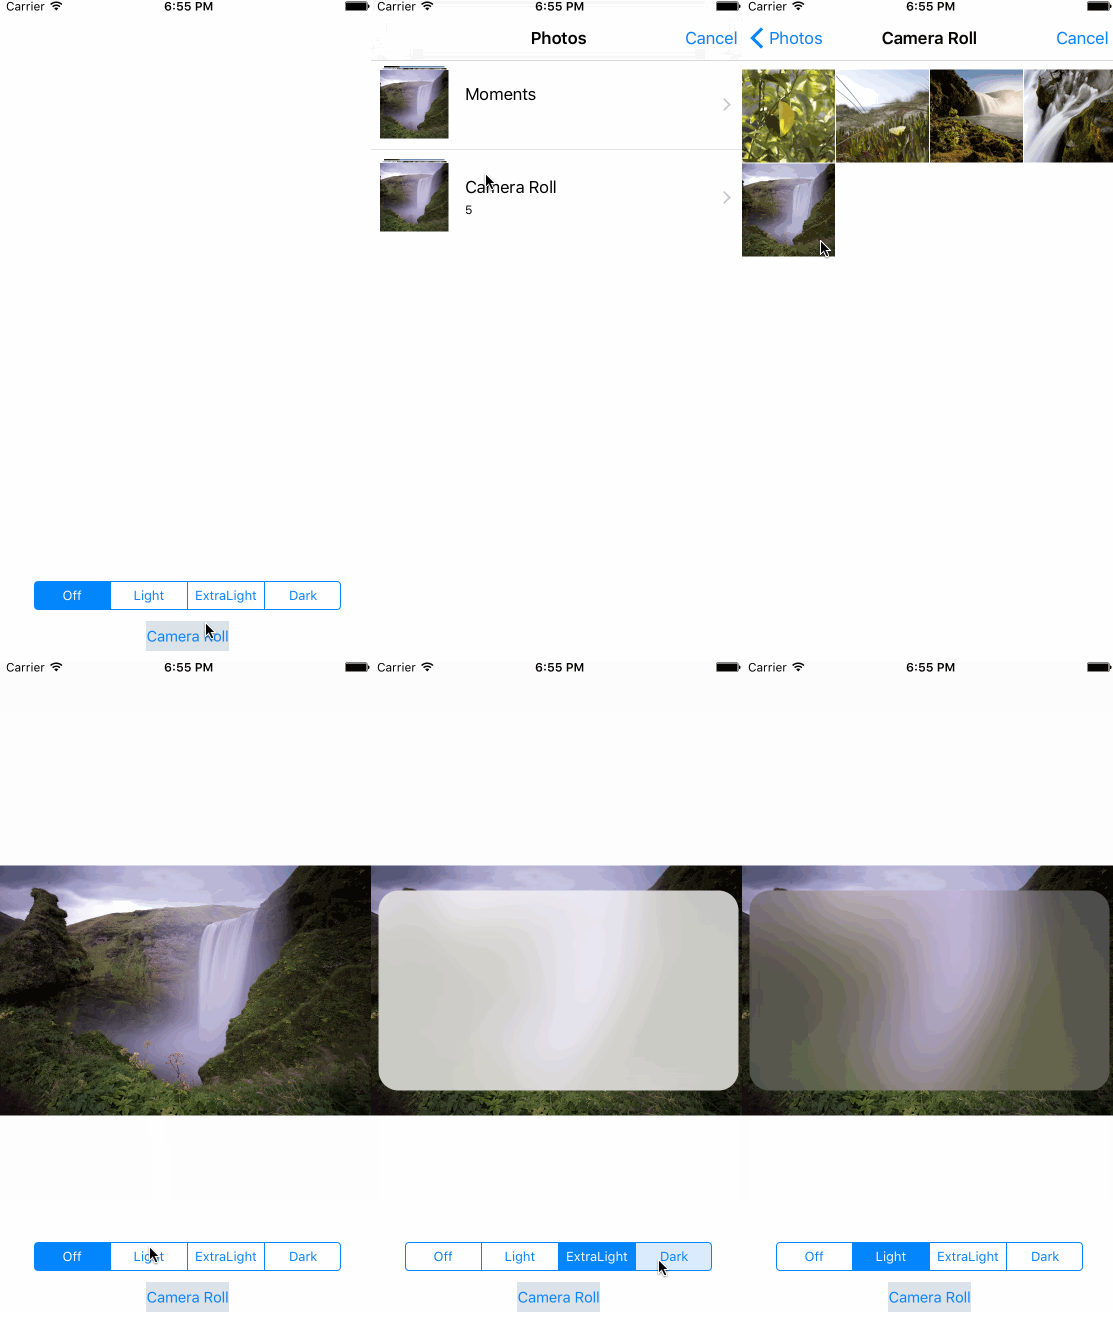
結果、以下のgifのようなアプリができました。(画像が荒いのはご了承下さい...)

細かい効果の調整ができないのは残念ですが、かなり簡単そしてお手軽にblur効果を実装できますね。
ただし、この方法、ちょっと難点がありまして...。 それについては次回更新予定です。
(追記)
Githubにソースをあげていたところプルリクを頂きました。
swift2.0的にguardやdeferを使用する方法です。
この部分の説明は割愛しますが、とても見やすくなりました!
@akio0911 さん、ありがとうございます。